How to Add Live Chat to WordPress (No Plugin Needed)
WordPress powers over 43% of the web — but its plugin ecosystem has a serious problem. Most live chat plugins are heavy, poorly maintained, and add significant overhead to your site's load time. The good news: you don't need a plugin at all. Adding live chat to WordPress is as simple as pasting a single script tag into your theme — and this guide will show you exactly how to do it.
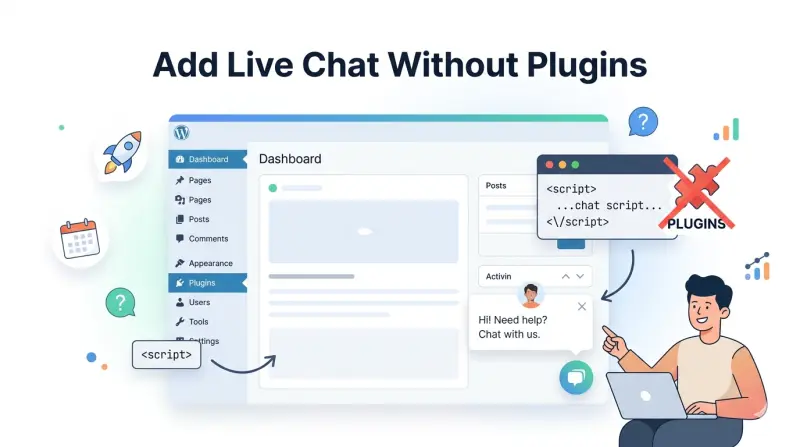
We'll cover why the plugin approach is often the wrong choice, walk through two methods for adding a script-based chat widget to WordPress (with and without touching code), and show you how Qply can be live on your site in under 5 minutes.
Why Most WordPress Chat Plugins Are Bloated
Search "live chat" in the WordPress plugin directory and you'll find dozens of options. Most of them share the same problems:
- Performance impact. Popular chat plugins add 150–400KB of JavaScript to every page load. Some load third-party iframes, additional fonts, and CSS files that trigger multiple extra network requests — directly harming your Core Web Vitals and SEO scores.
- Security surface area. Every plugin you install is a potential vulnerability. Chat plugins often require broad database permissions and integrate with third-party servers, increasing your attack surface.
- Update debt. WordPress plugins need constant maintenance. Abandoned plugins are a common vector for site compromises. Many chat plugins haven't been updated in 12–24 months.
- Lock-in. Plugin-based chat tools often store your conversation history inside WordPress. When you switch tools, you lose everything.
The modern alternative is a script-tag embed — a small JavaScript snippet that loads your chat widget asynchronously from the provider's CDN. This approach is faster, safer, and completely independent of WordPress's plugin ecosystem.
A well-implemented async chat script should add less than 50ms to your page's Time to Interactive (TTI). Qply's widget script is loaded with defer, meaning it never blocks your page's critical rendering path. Run a before/after comparison in Google PageSpeed Insights — you'll see minimal impact.
Method 1: Add Chat to WordPress Without Touching Code (Recommended for Beginners)
If you're not comfortable editing theme files, use WordPress's built-in Custom HTML widget or a header/footer plugin. Here's the easiest path:
Using a Header & Footer Plugin
- Install a lightweight plugin like Insert Headers and Footers (by WPCode) from the plugin directory.
- Go to Settings → Insert Headers and Footers (or WPCode → Header & Footer).
- Paste your Qply embed script into the Footer Scripts box.
- Save — the widget will appear on every page immediately.
This is the safest approach if you want to avoid touching theme files directly, and it survives theme updates without losing your script.
Method 2: Add Chat Directly to Your WordPress Theme
For developers or anyone comfortable with WordPress theme files, editing functions.php is the cleanest approach — no extra plugin needed.
Step 1: Get Your Qply Embed Script
Sign up at app.qply.io/signup, create your widget, and navigate to Settings → Widget → Embed Code. You'll see a script snippet like this:
<script
src="https://cdn.qply.io/widget.js"
data-widget-id="YOUR_WIDGET_ID"
defer
></script>
Step 2: Enqueue the Script via functions.php
Open your theme's functions.php file (or better, a child theme's functions.php) and add the following:
function qply_chat_widget() {
wp_enqueue_script(
'qply-widget',
'https://cdn.qply.io/widget.js',
array(),
null,
true // load in footer
);
add_filter( 'script_loader_tag', function( $tag, $handle ) {
if ( 'qply-widget' !== $handle ) return $tag;
return str_replace( '></script>', 'data-widget-id="YOUR_WIDGET_ID" defer></script>', $tag );
}, 10, 2 );
}
add_action( 'wp_enqueue_scripts', 'qply_chat_widget' );
Replace YOUR_WIDGET_ID with the ID from your Qply dashboard. This is the most WordPress-native approach — it uses the proper enqueue system, loads the script in the footer, and uses the defer attribute to avoid render blocking.
Never edit your parent theme's functions.php directly. When the theme updates, your changes will be overwritten. Create a child theme and make all customizations there. If you're on a managed host like WP Engine or Kinsta, they have built-in child theme tools in the dashboard.
Step 3: Verify the Widget Loads
After saving, visit your WordPress site in an incognito window. You should see the Qply chat bubble in the bottom-right corner. To confirm the script loaded correctly, open your browser's DevTools, go to the Network tab, filter by "widget.js", and verify it returns a 200 status with the defer attribute visible in the DOM.
Method 3: Using the WordPress Block Editor (Gutenberg)
If you want the widget on specific pages only rather than site-wide, you can use a Custom HTML block in the Gutenberg editor. Open the page, add a Custom HTML block at the bottom of the content, and paste the Qply script. Note: this is a page-specific approach and will only show the widget on that particular page — not globally across your site.
Configuring Your Qply Widget for WordPress
Once the script is live, head back to your Qply dashboard to configure the AI experience:
- Knowledge Base: Add your most common FAQs, service descriptions, and contact information. The more context you give the AI, the better it performs.
- Widget appearance: Match your brand colors, set the widget position (bottom-left or bottom-right), and customize the greeting message.
- Business hours: Configure availability windows so the widget shows an appropriate offline message outside your support hours.
- Escalation rules: Set keywords that should automatically trigger a human handoff — for example, "refund", "urgent", or "complaint".
For a deeper dive into AI configuration, see our guide on 10 AI chatbot best practices that actually convert visitors.
If you're running WooCommerce, add your product FAQs, shipping policy, and return policy to Qply's knowledge base. The AI can then handle "Where is my order?", "What is your return window?", and similar questions automatically — without you or your team lifting a finger. This alone can eliminate 40–60% of your support volume.
Troubleshooting Common WordPress Chat Issues
Widget not appearing?
Check that your theme's footer.php file includes <?php wp_footer(); ?> before the closing </body> tag. Without this WordPress hook, scripts enqueued via wp_enqueue_scripts won't be output to the page.
Widget overlapping content on mobile?
In your Qply dashboard under Widget → Position, set a bottom offset of 70–80px on mobile to account for any sticky navigation bars or cookie consent banners your theme may have.
Caching plugin showing old widget or no widget?
Flush your caching plugin's cache (WP Super Cache, W3 Total Cache, WP Rocket, etc.) after adding the script. Some caching tools aggressively minify and combine scripts — you may need to add cdn.qply.io to your excluded URLs list.
Wrapping Up
Adding live chat to WordPress doesn't require a bloated plugin, a developer, or a complicated setup process. A lightweight script embed via functions.php or a header/footer tool is the cleanest, fastest, and most maintainable approach — and with Qply, you get an AI-powered chat experience that can start answering your visitors' questions from day one.
Get live chat on your WordPress site in minutes
No plugin needed. No developer required. Free plan available.
Start 14-day free trial →